Welcome to Axl website
10. Interface & Application Programming
10.1 Objectives
Wk 1
-
Setup Dev Environment for ESP32 S2
-
Setup NodeJS Dev Environment on your PC
-
Explain the HackOmation quadrant in relation to your final project.
-
Build UI mockups for your FInal Project and HTML Layout
Wk 2
- Build HTML5 Chat app
- Draw mockup / layout
[x] frame and add id’s to <div>’s
[x] Style the page and
[x] wire up the JS code and understand
- Draw mockup / layout
Wk 3
- Build Chat app back-end NodeJS
Build NodeJS server side to:
host your ChatApp (Express static HTML)- Build / test API endpoints (for: users & messages)
Wk 4
- Setup MongoDB datastore & connect via NodeJS
Setup MongoDB datastore + mongoose ODM (Object-Document-Manager)
Store and recall message data using an API (ex. request top 100 msg)
Wire up MongoDB to API endpoints
Update app-flow to use back-end for Users and “old” messages
Wk 5
- Create data-bound widgets to display sensor data
On ESP32 add MQTT client + ArduinoJSON
Send Sensor data to MQTT server (as a JSON object)
Create a DataCard, a Gauge and a time Chart widget on Dashboard (use chat app)
Strategy on DataBinding and Widget updating (Last updated)- User Login/Pw (state persistence)
-
Add Screenshots and description of the process of creation.
-
Describe the design & programming steps
-
Screenshots or video of your Prototype/app working
-
Describe any errors or problems with the process and how you fixed them.
- Include all the files you created folder
10.2 building html chatapp
I made the mistake of not drawing a mockup but it is something that is very important
First iteration

This is the first iteration of my chat app it is pretty basic the problem with my first iteration is that the messages had no scroll feature so the message box would over flow
This is the index.html
<!DOCTYPE html>

<html  lang="en"  style="background-color: rgb(255, 122, 122);"></html>

  <head>

    <meta  charset="UTF-8"  />

    <title>axl chat app</title>

    <link  rel="stylesheet"  type="text/css"  href="style.css"  />

    <script  src="https://cdnjs.cloudflare.com/ajax/libs/mqtt/4.3.7/mqtt.min.js"  type="text/javascript"></script>

    <script  src="app.js"  type="text/javascript"></script>

  </head>

  <body>

    <div  class="chatbox"  id="chatlog"></div>

    <input  class="input"  type="text"  id="chatInput">

    <button

        onclick="sendMessageButton(getElementById('chatInput').value); getElementById('chatInput').value='';">

        </button>

        <div  id="userlist"></div>

        <h1><i>hello welcome to my website</i></h1>\
So what is happening here is the were linking the style.css and the script.js in the html code so our code can be nice and neat and were making were making a div to search a class named chatbox with the id chatlog
And a div for the users
Second interaction

This one has a lot of improvements like i have a scroll option for the messages
And I can press enter to send messages .
This is a piece index.html code
 <link  rel="stylesheet"  type="text/css"  href="style.css"  />

    <script  src="https://cdnjs.cloudflare.com/ajax/libs/mqtt/4.3.7/mqtt.min.js"  type="text/javascript"></script>

    <script  src="appv3.js"  type="text/javascript"></script>

  </head>

  <body>

    <div  class="container"  id="chatlog"  ></div>

   <div  id="userlist"></div>

<input  id ="chatInput"  type="text"  placeholder="Type a message"  onkeydown="sendMsg(this)"/>

    <button

        onclick="sendMessageButton(getElementById('chatInput').value); getElementById('chatInput').value='';">

        </button>

        <h1><i>hello<sub></sub> welcome to my website</i></h1>

  </body>

</html>
So here were linking the style.js and the script.js
And were making a div of the class container and the id chat log
Another div with the id userlist which basically makes a userlist
And a input were you can press enter to send you’re messages
This is a piece of style.css code
.chatbox{

background-color: rgb(245, 236, 236);

float: right;

width: 500px;

height:500px;

}

}

.container {

    margin: 60px auto;

    background: #e2dddd;

    padding: 0;

    border-radius: 7px;

    height: 240px;

    overflow: auto;

    display: flex;

    flex-direction: column-reverse;

  }

 .userlist {

    margin: 60px auto;

    background: #red;

    padding: 0;

    border-radius: 7px;

    height: 240px;

    overflow: auto;

    display: flex;

    flex-direction: column-reverse;

  }
So here we are styling the page like the message box and also the scroll feature
This are piece of the script.js code
  function sendPing(usr = '') {

      // ping sends out a message to all () or any specific user to respond if ur there

      var pingObj = { ping: usr }; // JS Object {ping : "usr"} -> JSON {/"ping/":/"usr/"}

      client.publish(mqttTopic, JSON.stringify(pingObj));

    }

    function sendPong() {

      // sends clientID and UserName in a JSON object (and whatever u need more)

      var pongObj = { pong: { userName: userName, clientId: clientId } };

      client.publish(mqttTopic, JSON.stringify(pongObj));

      console.log(JSON.stringify(pongObj));

    }

    function redrawUserList() {

      // Generate the userlist HTML

      var ulist = "      userList.forEach(function (item) {

        //var x = arrayItem.prop1 + 2;
So what is basically happening hier is when we log on to the website it send a pong and if another person logs on they send a ping and it will show in the userlist function and function redrawUserlist means that if i don’t receive a ping from someone they will not appear in the uselist
10.2
So this is the node js server it basically jst my chatapp but it is hosted on a local server
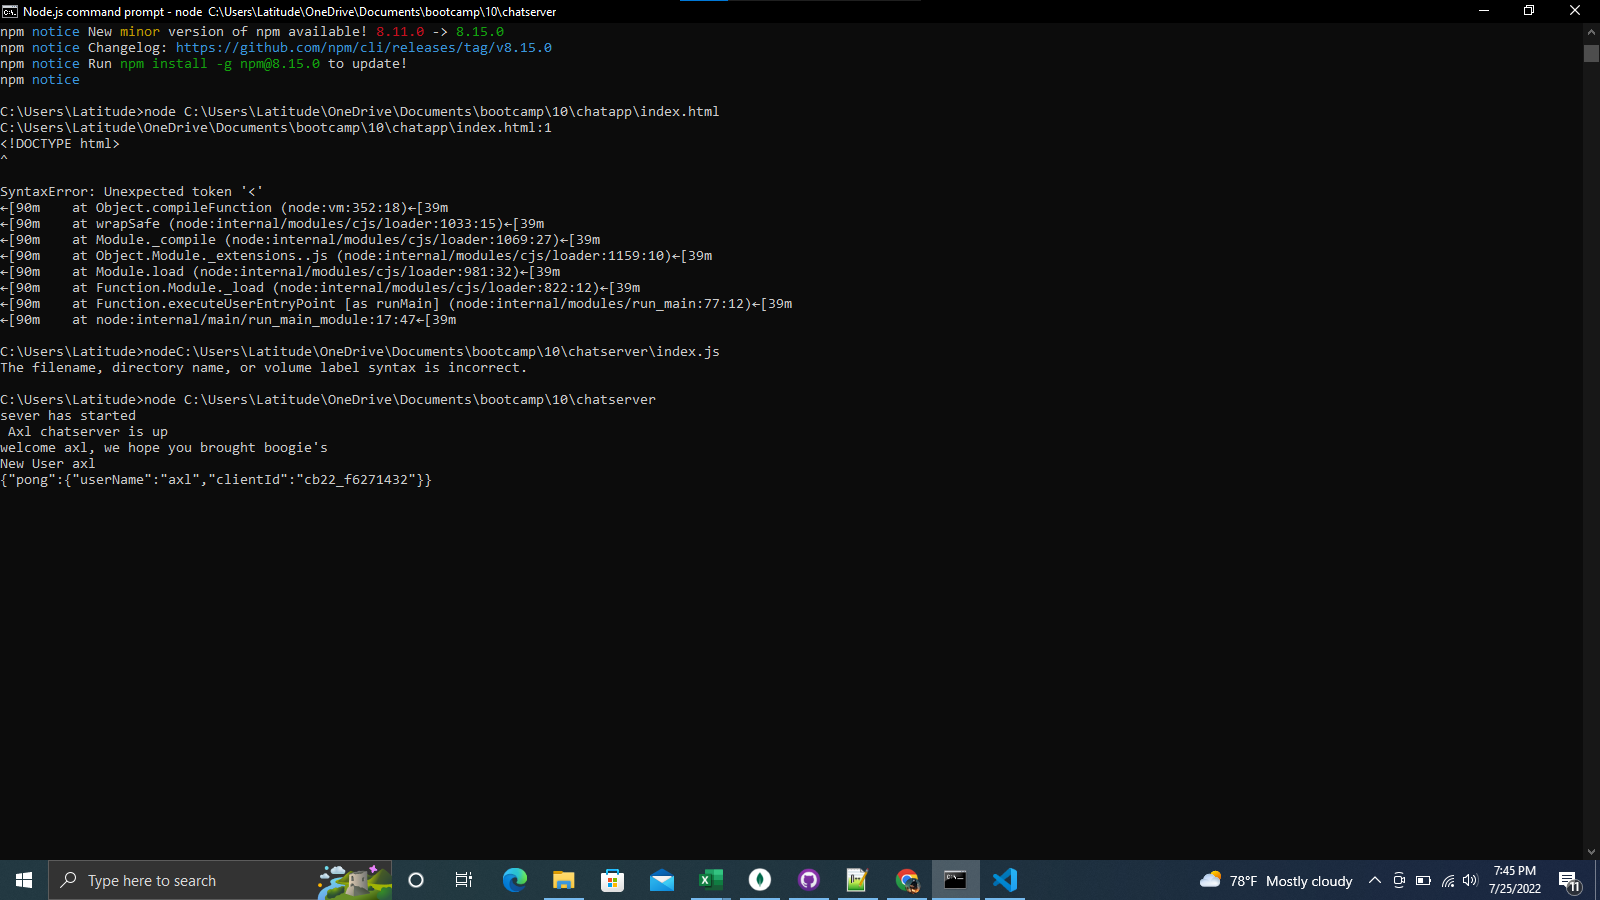
This is the cmd for running the chat server

This is the chat server it is basically the same a chat app
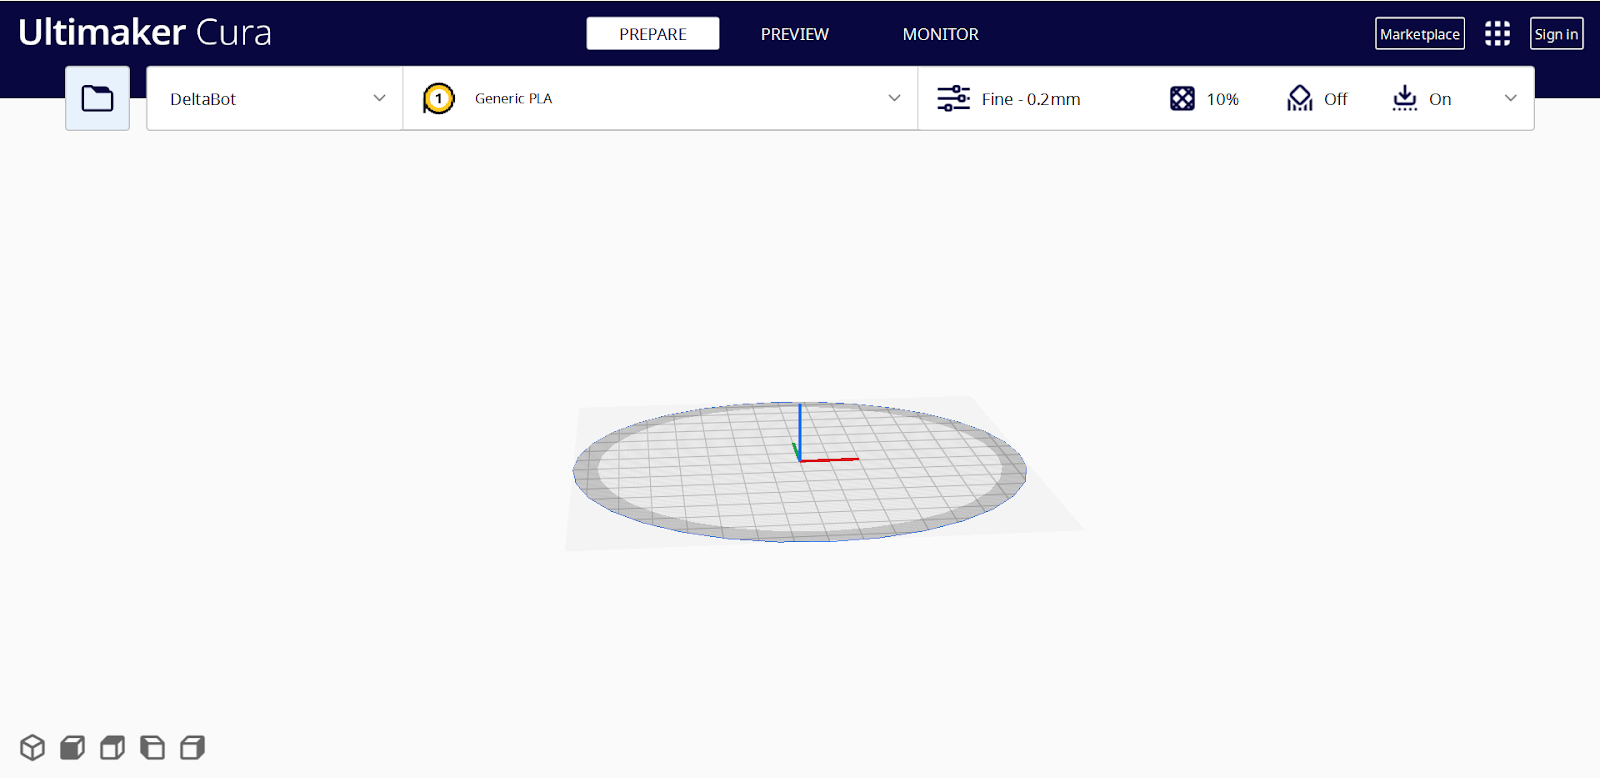
10.3 installing cura
So in this sesion we installed cura so that we can learn to 3d print on our own

So this is cura it is used for 3D printing
This is the download link
https://www.filecroco.com/download-cura/
How to get G code to 3D print

So on thinker cad get the thing you want to 3D print
And then you press export

And then you press stl that will make you print into a stl file
Then go on cura
And press the file icon in the left corner

And then find you file you want to 3D print and open it
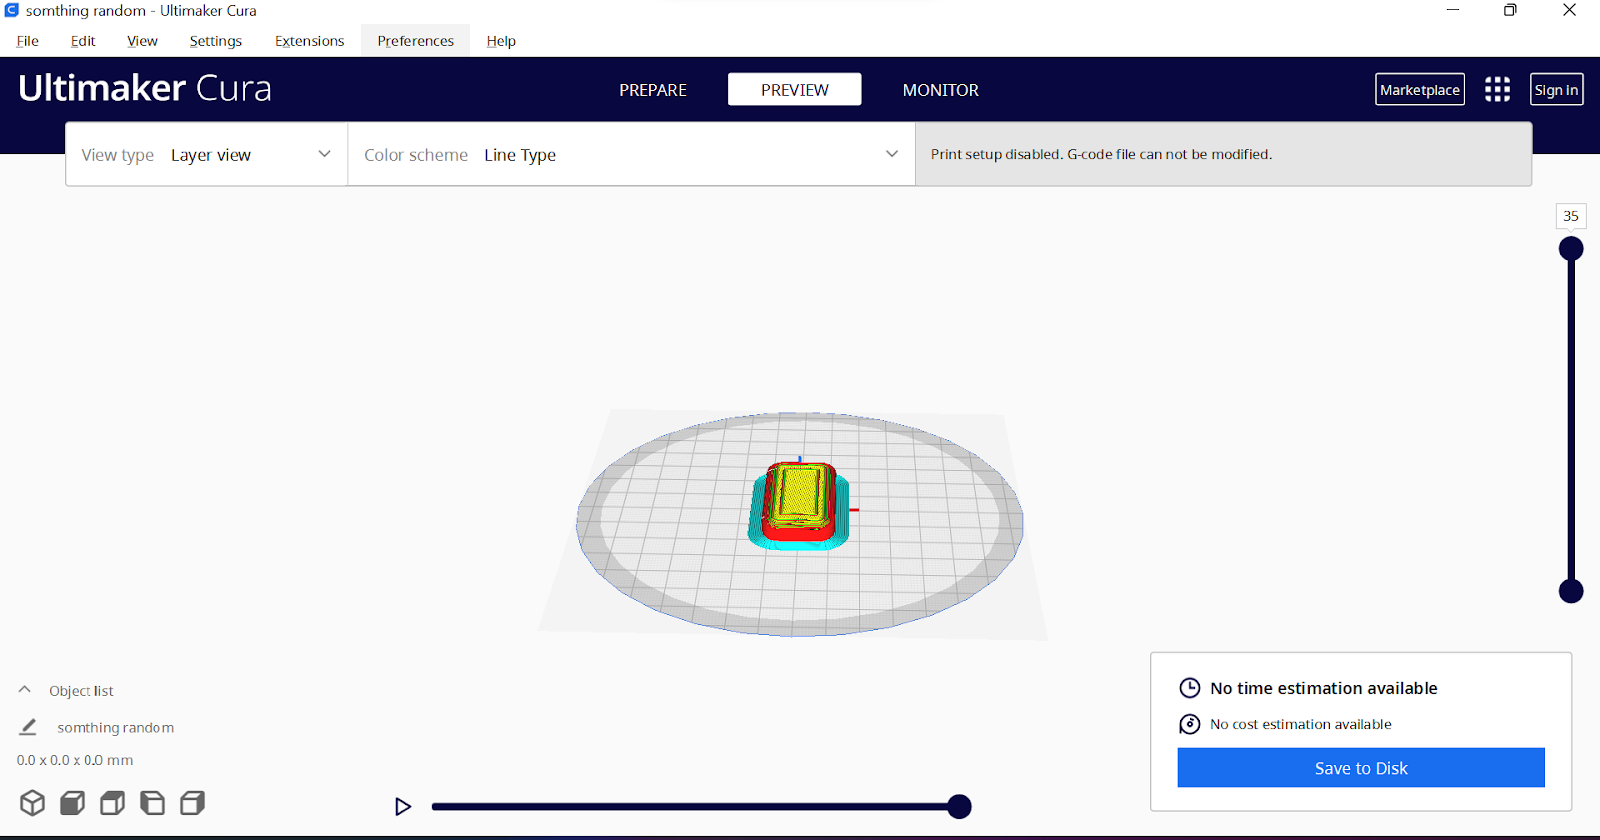
Something like this shoul show op and the press save to disk and that will make your thing in to G code wich you can insert into a 3D printer
10.4 learning about business model canvasses
So what is a business model canvas
The Business Model Canvas is a strategic management template used for developing new business models and documenting existing ones.[2][3] It offers a visual chart with elements describing a firm’s or product’s value proposition, infrastructure, customers, and finances,[1] assisting businesses to align their activities by illustrating potential trade-offs.
Canvas was initially proposed in 2005 by Alexander Osterwalder
Customer relationship
The first thing we learned is how to have a good customer relationship.
So to have a good customer relationship you cannot rely on price.
Because if they find someone cheaper they will buy their product instead.
So what you need to do is something your competitors are not doing
Or if it has something to do with tech you have to make an echo system
Let’s take appel for an example, so we all know that apple is one of the biggest maybe the biggest but it’s not just their good products it’s their echo system. Every product works so well together, and they made it so that it works really bad with any other phone like a Samsung or something else. So that is why most people will not switch to a Samsung because it will make their life harder or they will need to replace almost every apple product they have.
Value proposition
And we also learned about value proposition
So what is value proposition is basically what do you do that is different then other people
Like what is special about you that people are gonna buy from you and continue to buy from you
Customer segments
We also learned about customer segments
And what that means is what is the group of customers you are targeting or more like for who is your product made and how big that market is
Channels
Another thing we learned about channels
And that is how are you going to advertise your product or service
Key partners
So this is just your list of partners but we learned that it’s better to have more than 1 business partner because if one of them does not want to work with you anymore then you will still have other partners to do business with.
Key resources
So this is for all the resources you need for your product and
Cost structure
So this is for all of the costs that you need to pay like business partners
Advertisements, resources stuff like that
Revenue streams
So this is your sales and your profit so after all the cost have been subtracted
This is an example of a business model canvas

10.5 installing freecad
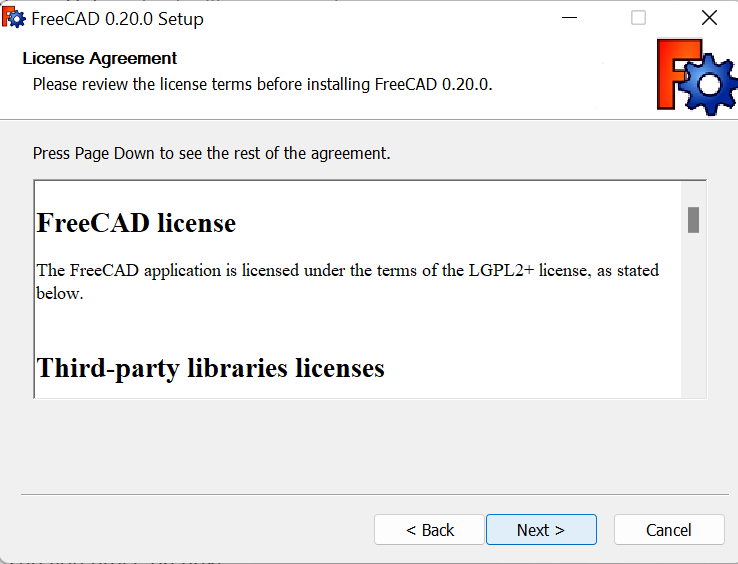
So after downloading the file ,
You should see this

The you press on next
After you press on next you should see this
Then press on next
And you should see this

You can choose wich one is for you
And press on next and your good
And this is the download link
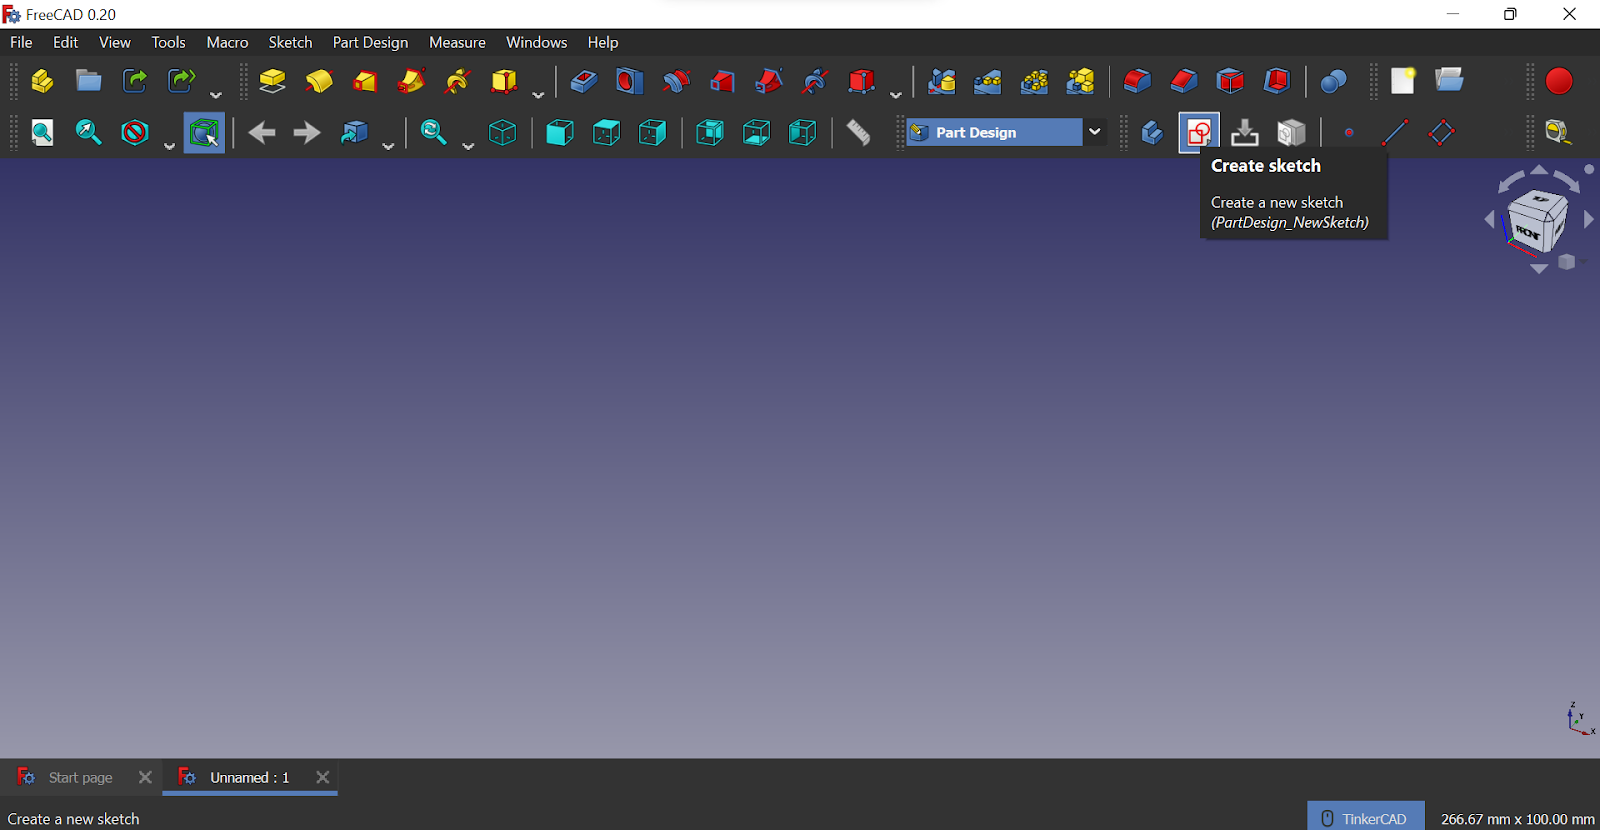
10.5.2 using freeCad

Press on creat new
You should see this
And the press on start

Then press in part design

Then press on XY plan
You should see this
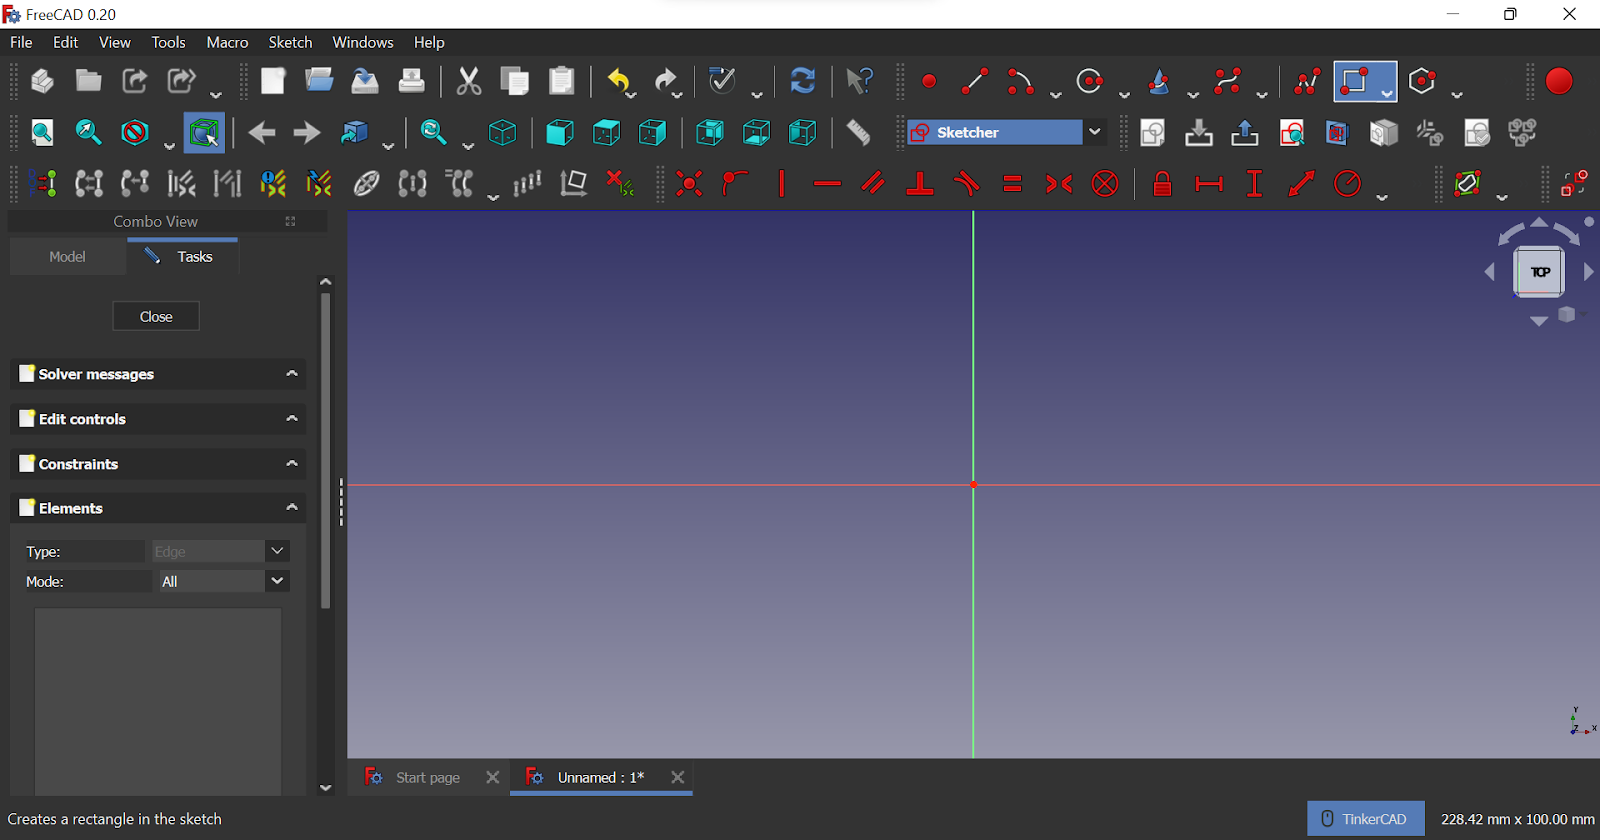
The press on the square

Press the dot in the middel of the the screen
And make a square
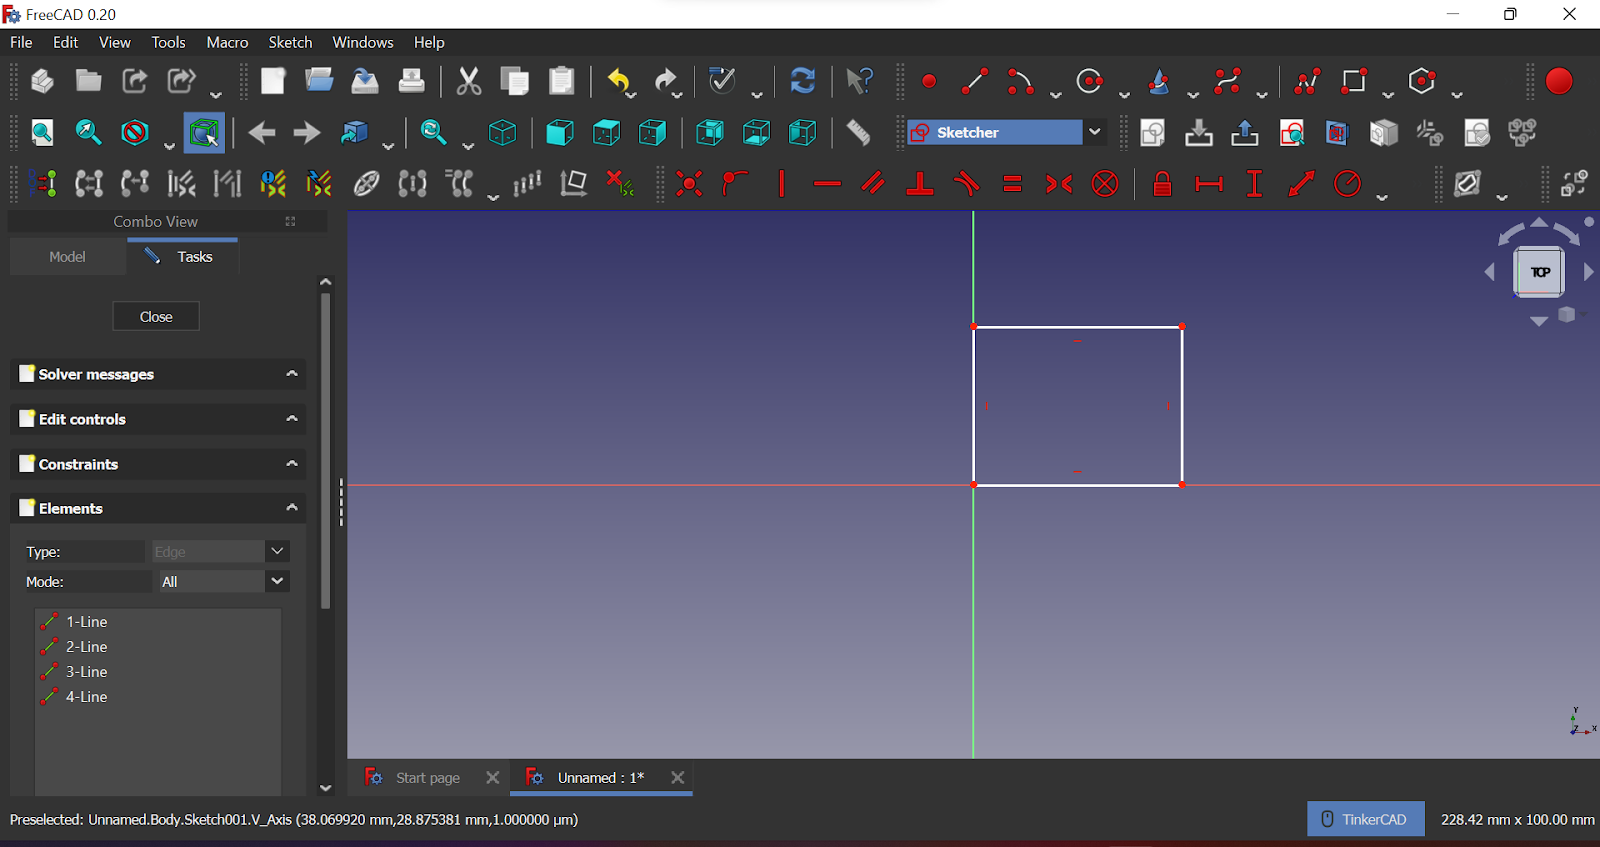
And then you have to press on constraint horizontal distance
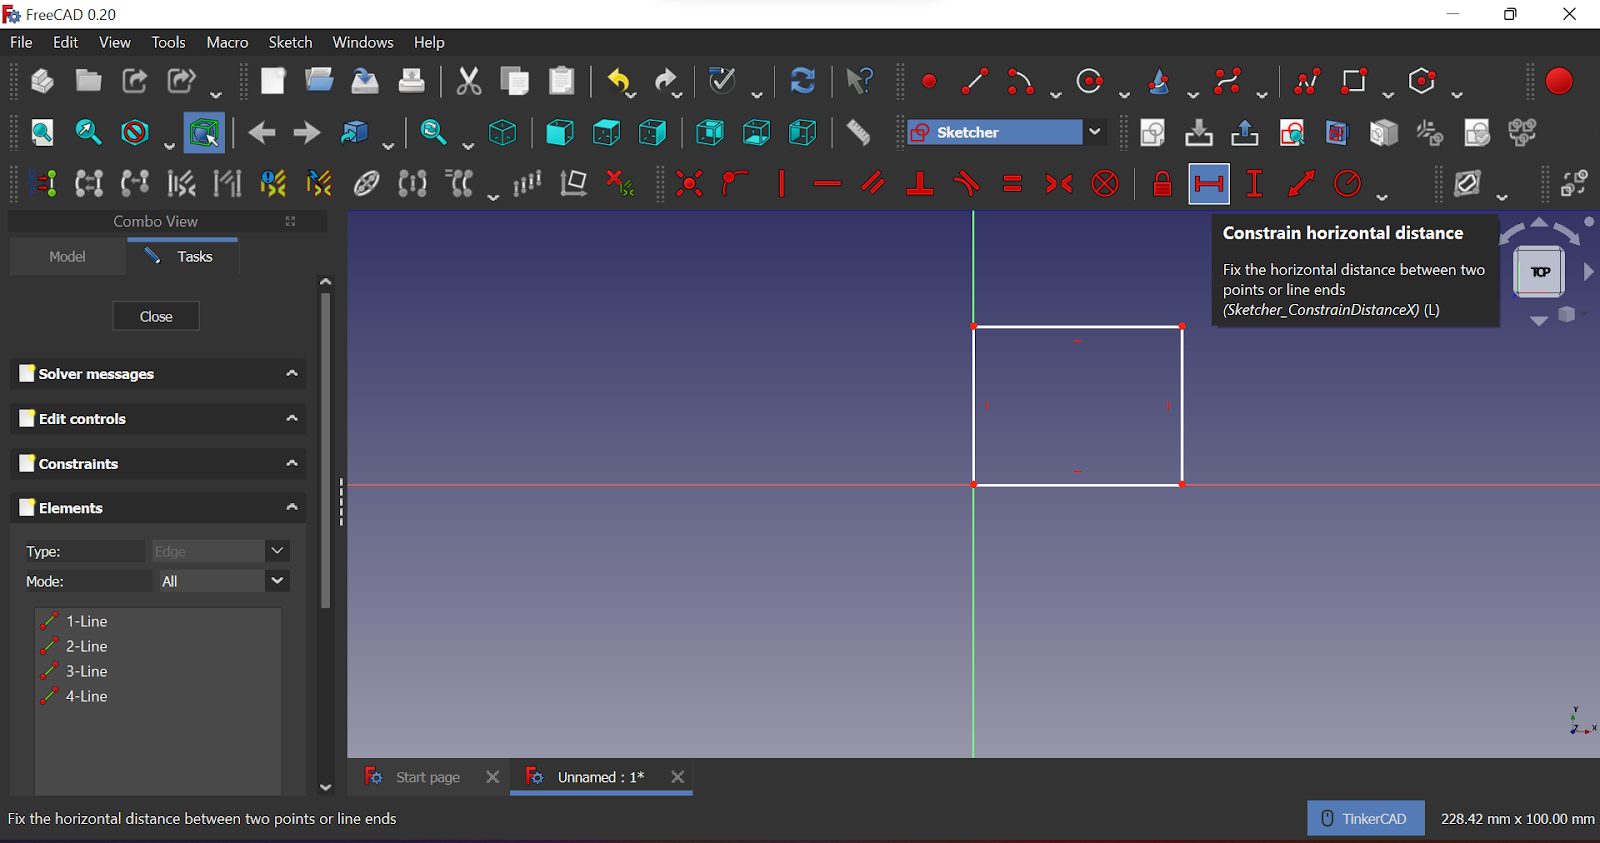
And the you have to press on the top of the squere

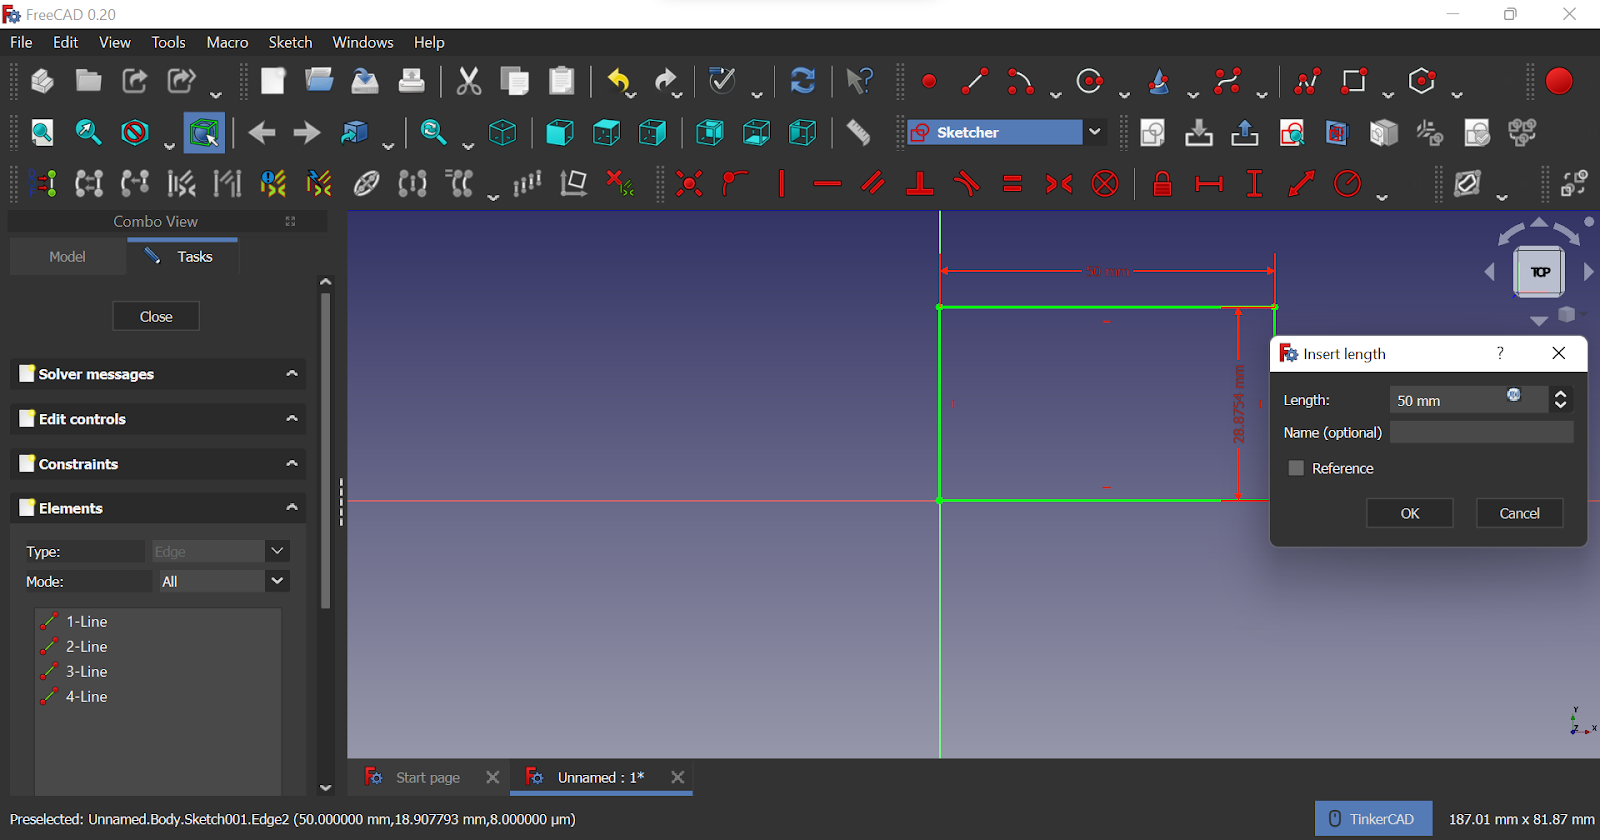
Set the distance to 50mm
Then press on constrain vertical distance
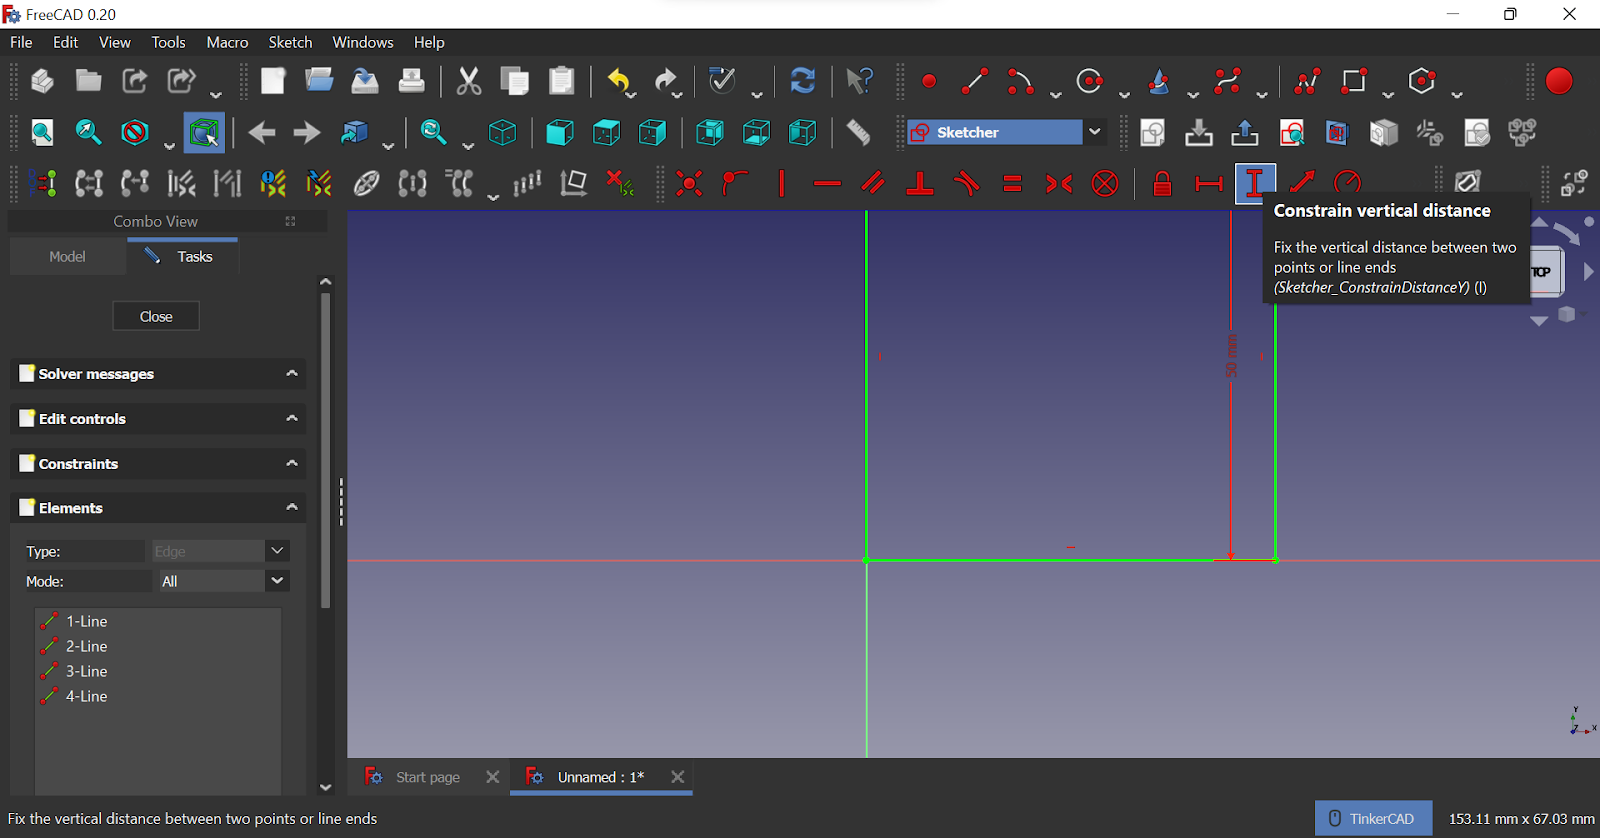
Then set the distace to 50mm
Then press on close
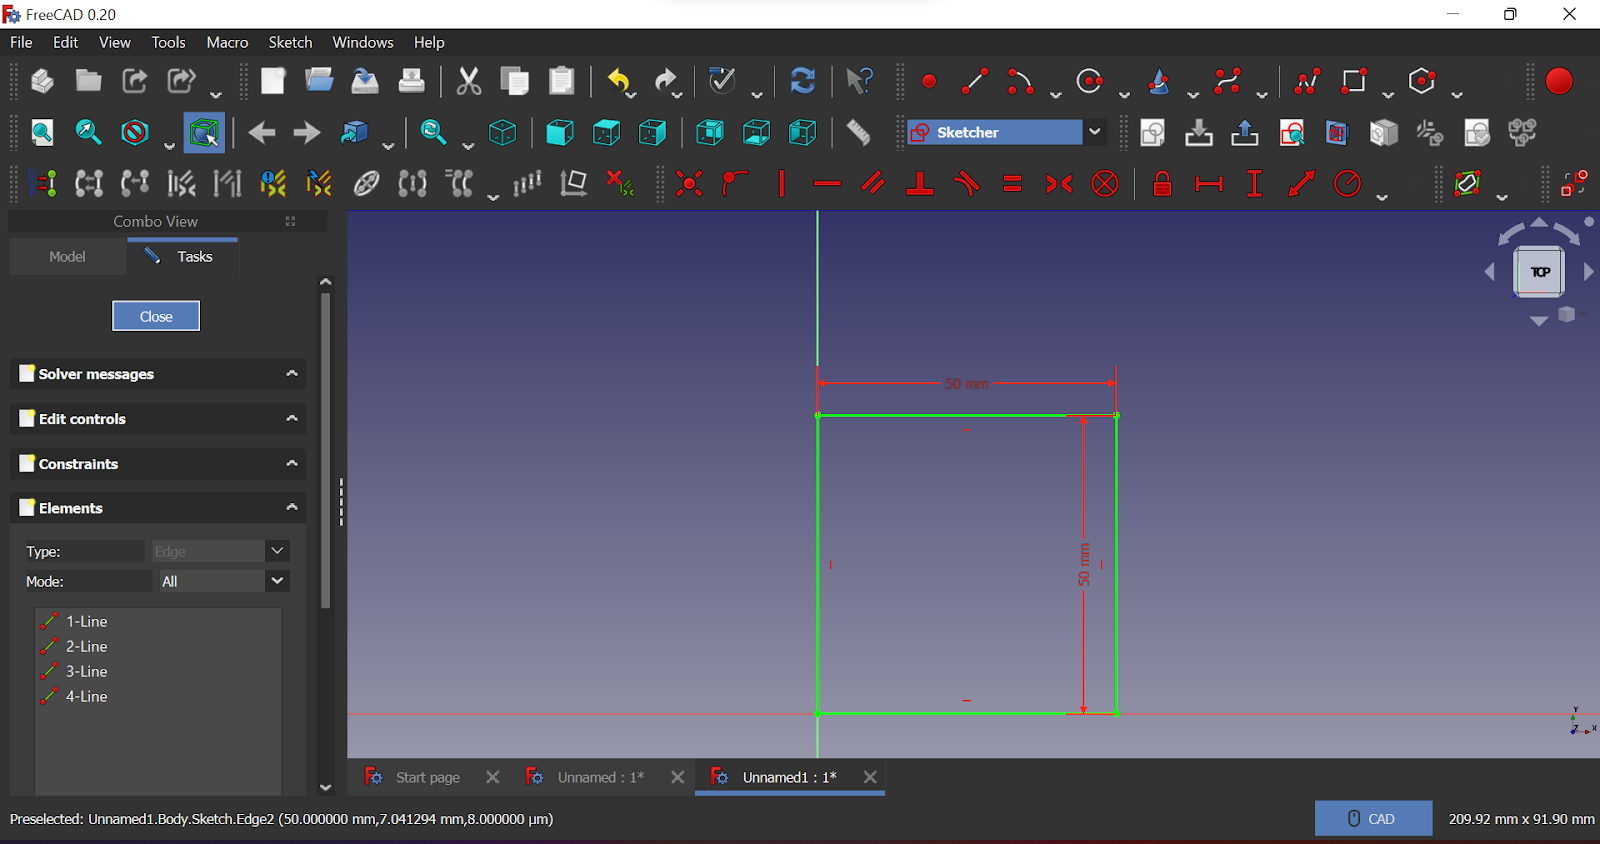
Then press on close
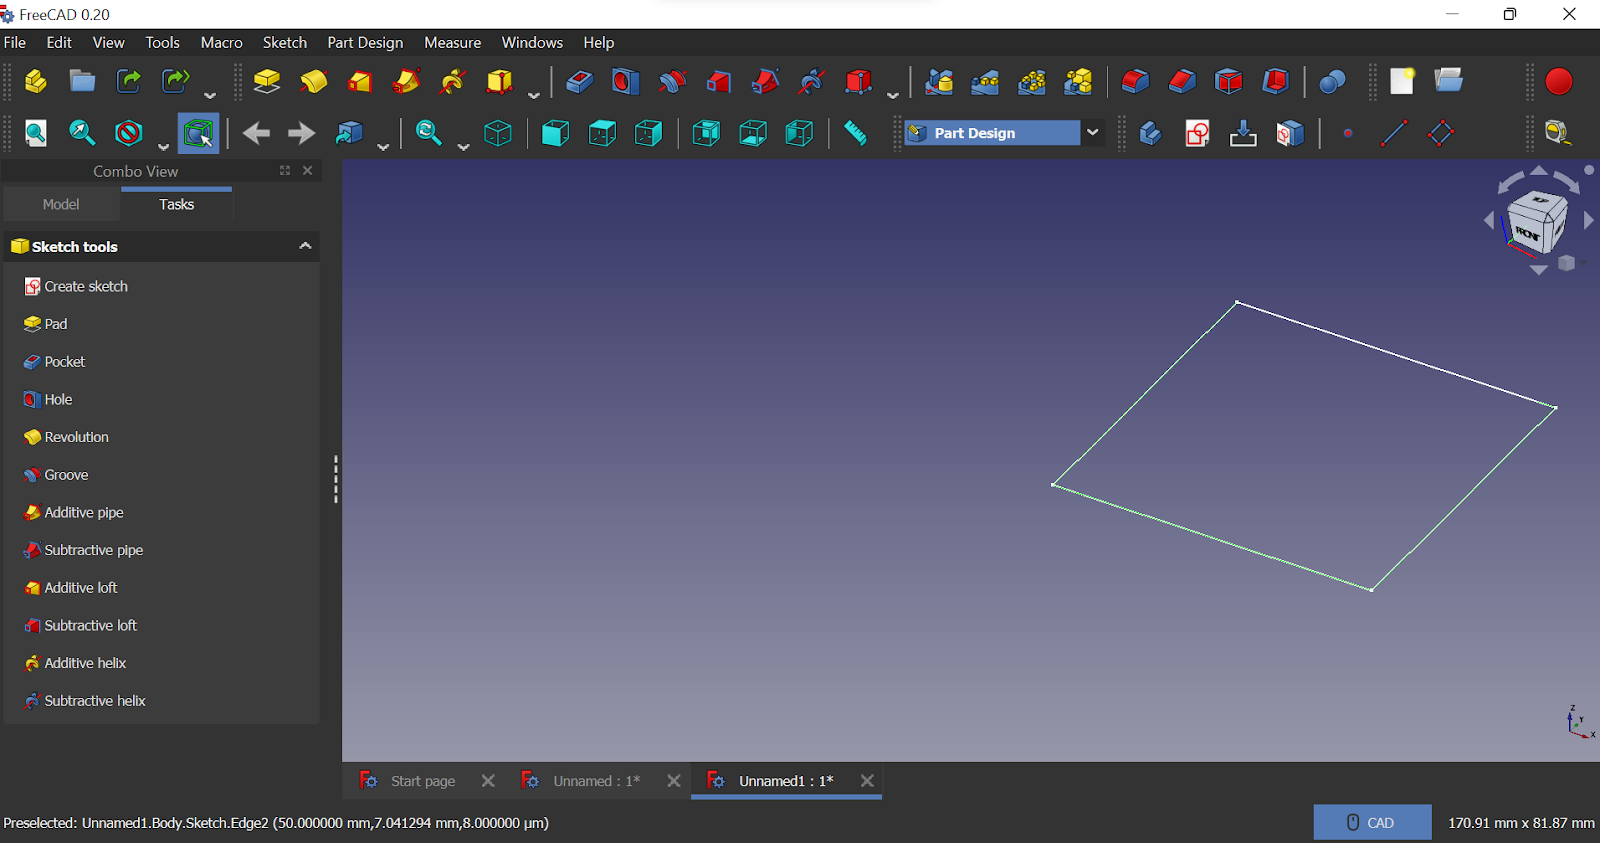
The press on pad

Then press on creat new sketch

Then press on XY plane
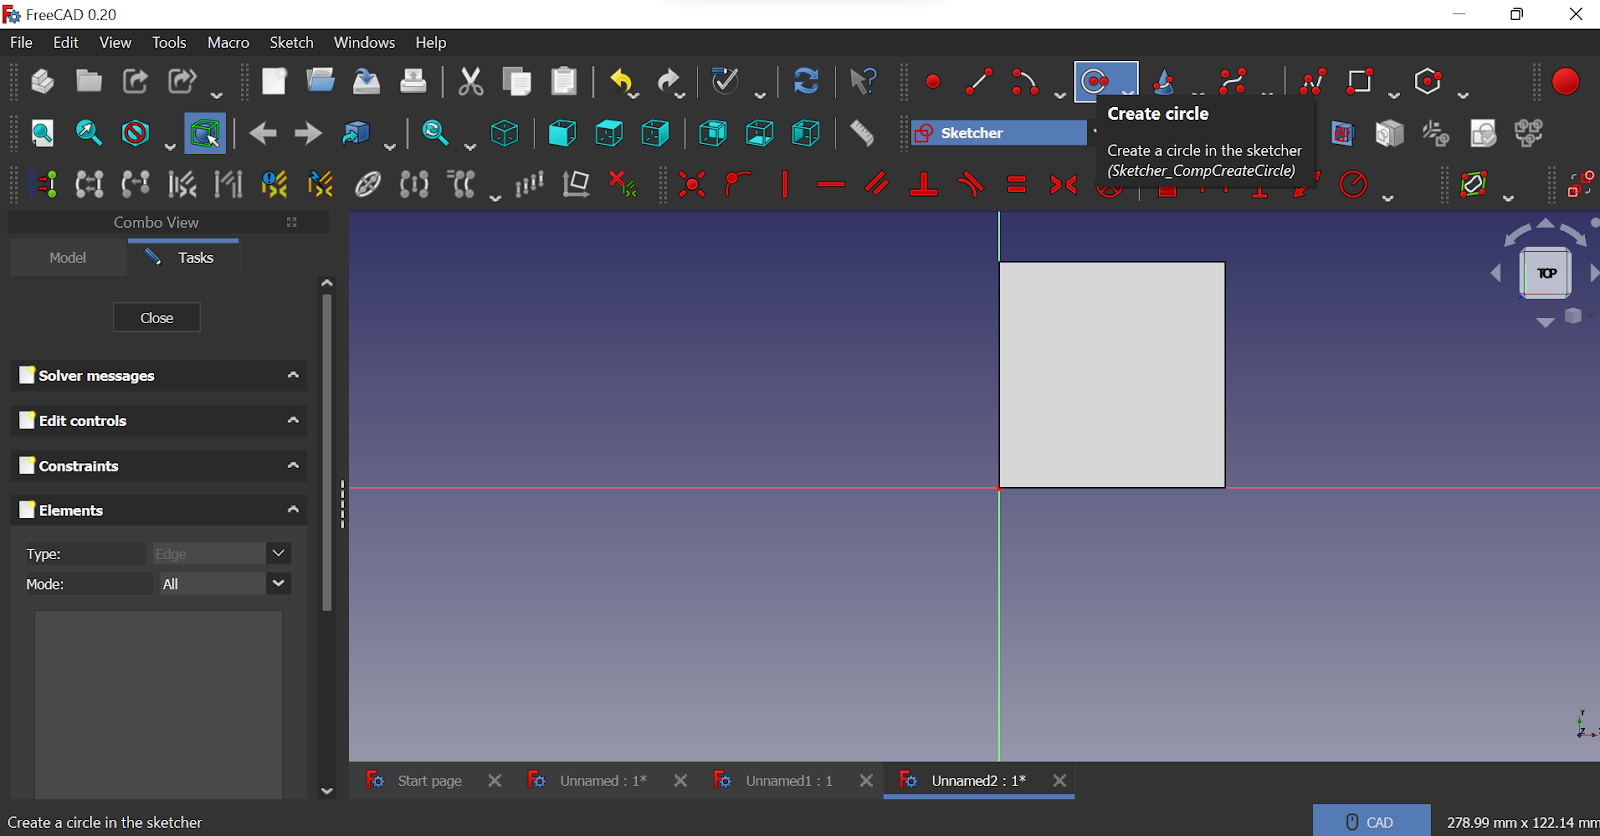
Then press on creat circle
And make a circle
It will look invisible but its there
The press close

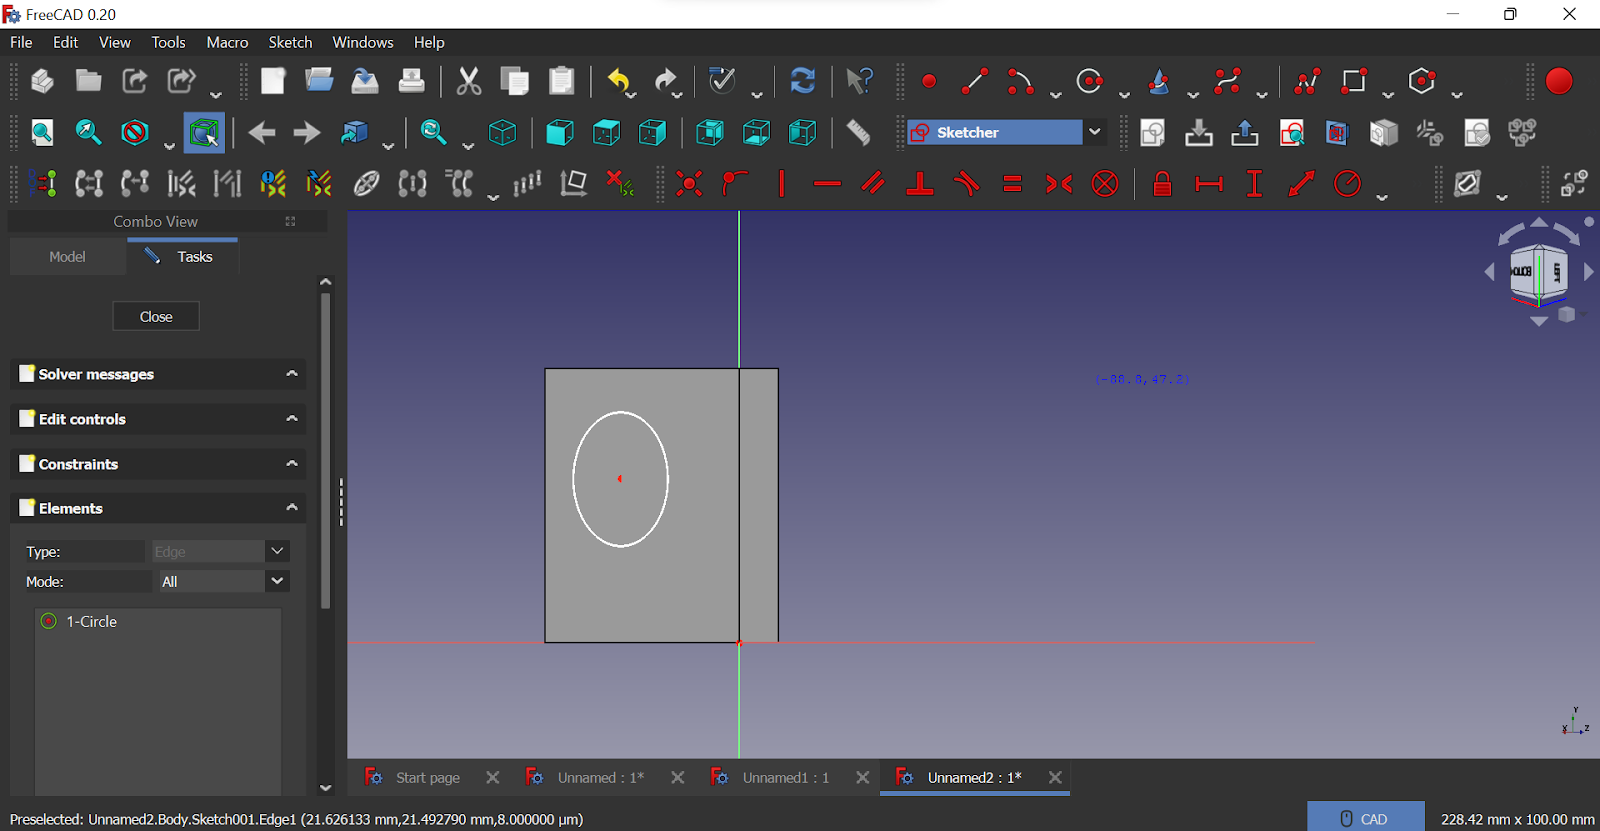
Press on the arrows in the right corner
Until it shows the circle

Press on the pocket tool
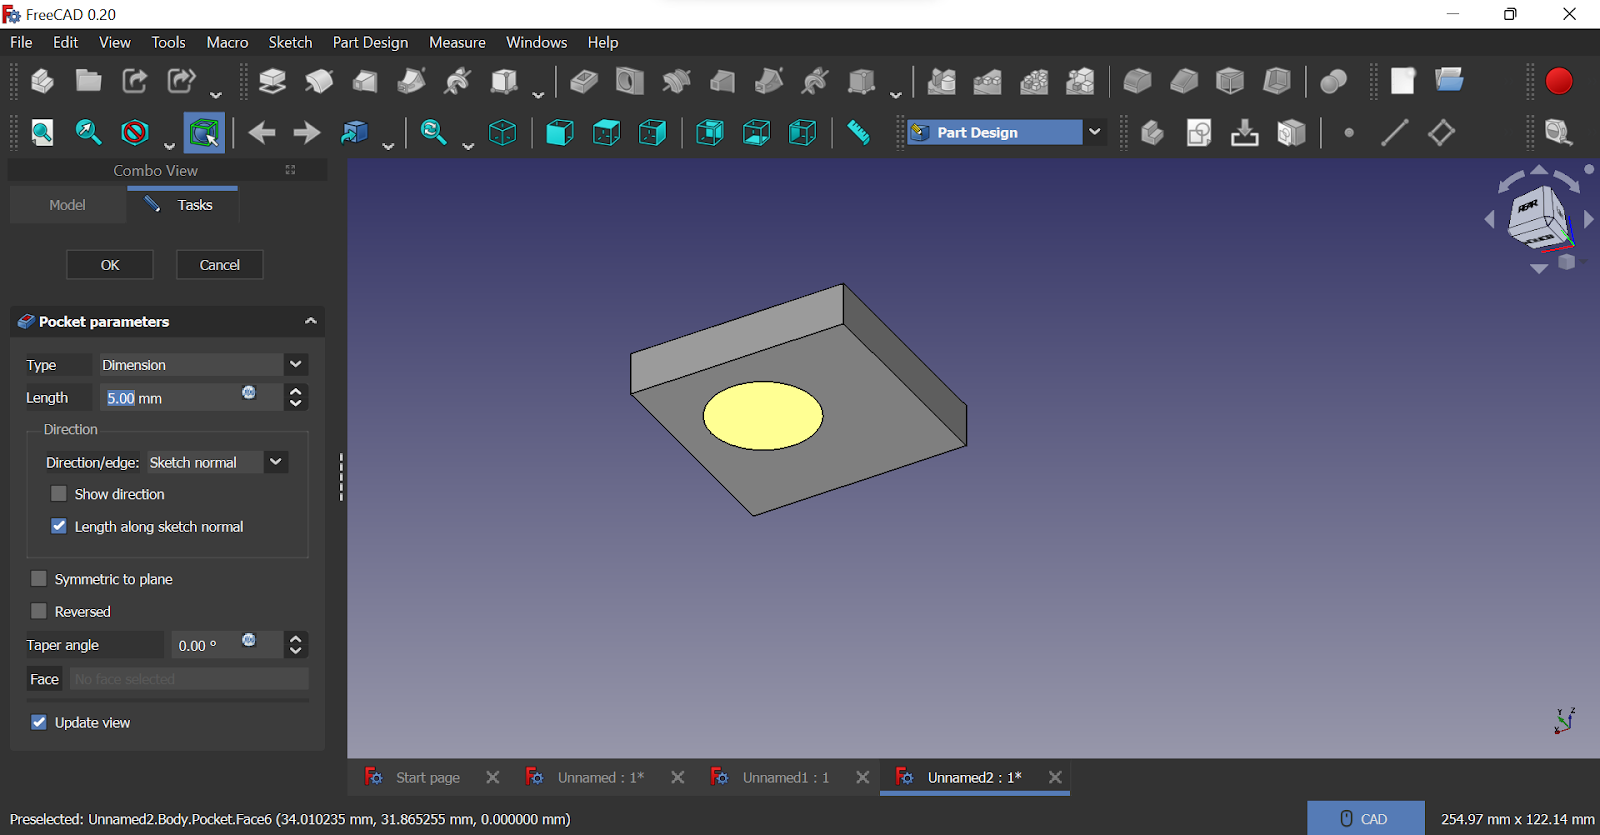
And press on the circle and then press ok
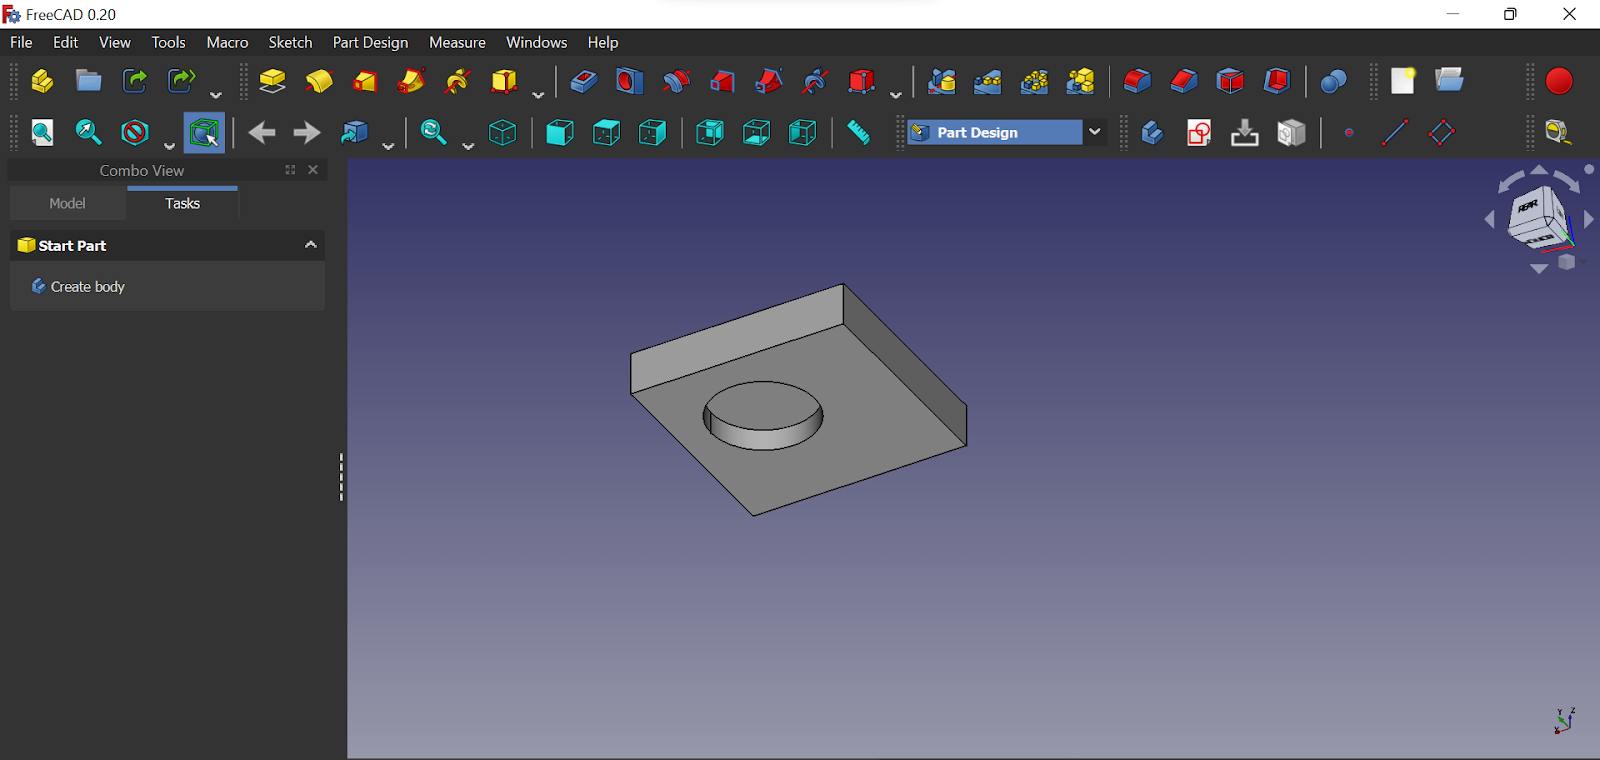
And you should have a pocket
10.6 cnc
So we leard about cnc and cnc is and what is cnc
CNC stands for Computer Numerical Control; this is simply a method for automating the control of machine tools. Computer numerical control machines rely on computer instructions and a CAM (computer-aided manufacturing) program to control, automate and monitor machine tools’ movement to create the desired part
Esp32 cam set up/settings
How to connect esp32 cam to ftdi

Setting for Arduino ide
Arduino board software = ai thinker
Additional notes = ground and power must be on the same side on the esp 32 cam